Timeline Presentations
|
|
|
|
Timeline - basic |
Timeline - by Source |
There are two Timeline views: Timeline - basic and Timeline - by Source.
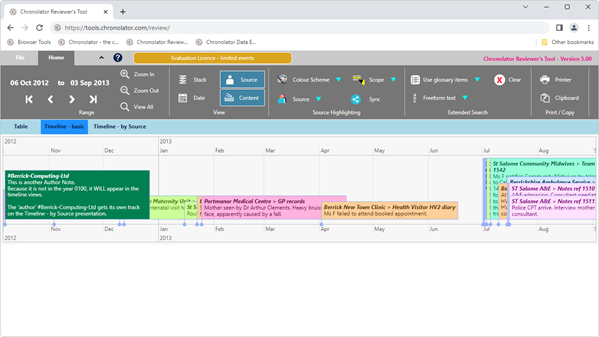
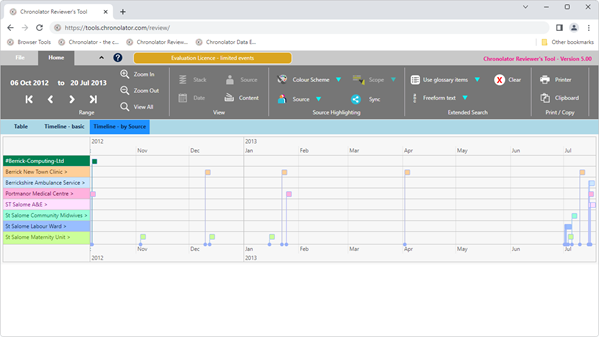
The first one shows all events on the same line, while the second has a different line for each agency.
Another difference between them is the amount of detail displayed for each event.
You can customise the level of detail you see by using controls on the Ribbon.
Deciding what details to show in an event
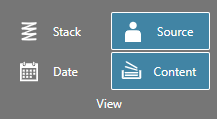
Use the buttons in the Home > View group to control the level of detail shown in an event: 
- When the Content button is selected, the Date and Source buttons affect whether the date and source are displayed in each event. The Stack button separates overlapping events (or vice-versa).
- When the Content button is not selected, event content is not displayed - just an empty coloured box (this is the initial state in Timeline - by Source). The other buttons in the Home > View group are disabled.
Overlapping events
When events overlap as in the Timeline - basic display above, you can show the text in a 'hidden' event by clicking on it. Use the DVD-like buttons on the Range tab  to go from one event to another.
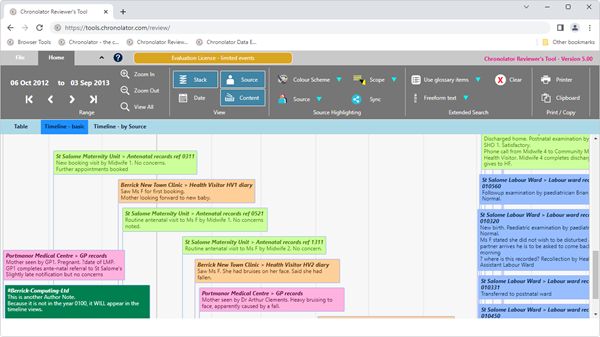
Alternatively, you can select the View > Stack button to separate the events like this:

Scrolling
Horizontal
To scroll horizontally, press and hold the left mouse button and drag the display left or right.
Vertical
To scroll vertically, use the scroll bar at the right of the area.
You can use the scroll wheel to scroll vertically when the mouse is over the right-hand scroll bar, and when it is over the agency list in the Timeline - by Source presentation.
Using a Scroll wheel to zoom
If you hold the Ctrl key while using the scroll wheel:
- if the mouse is over a timeline display, the Range is zoomed in or out
- if it is over the right-hand scroll bar, or the agency list in the Timeline - by Source presentation, the entire display (including the Ribbon) is zoomed in or out. To reset it to 100%, press Ctrl+0

