
Familiarising Yourself |
|


The easiest way to find out what Chronolator Enter can do is to start using it.
This section suggests a few of the things you might try, and along the way introduces some of the terms used in the tool.
Please refer to the Ribbon topic for a description of how the various buttons are described here.
Get Started
|
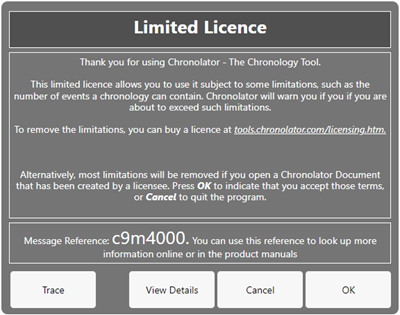
When you first open the tool a licence will be displayed; usually a Limited Licence like this.
|
|
|
After you accept the licence terms, the Ribbon is displayed.
|
|
.png)


Updating the chronology
|
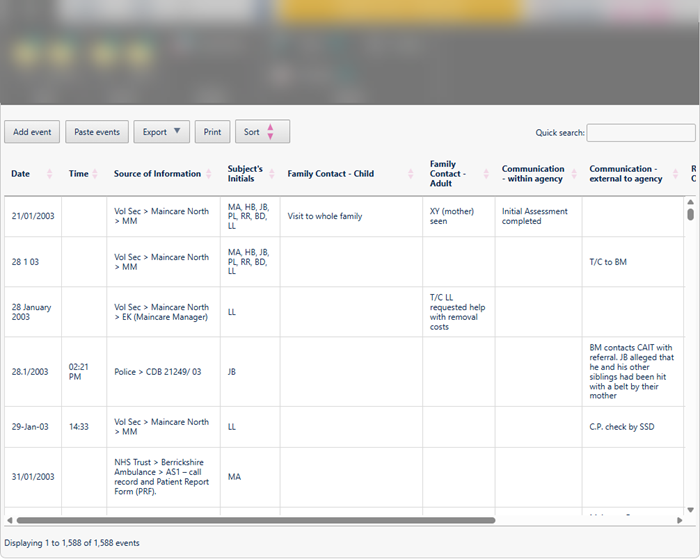
The chronology you choose is displayed in the Presentation Area. The buttons above the table and to the right of each event, let you update the chronology.
Try adding, changing, duplicating, and deleting events. See Updating the chronology for how to do this.
Watch a video about this topic at www.chronolator.com/berrick/videos/chronolator-editor/index.htm. |
|
When adding or editing an event, Chronolator Enter checks that it meets any requirements specified for the chronology.
If the event is valid it will be added at the end of the chronology (unless you have set the Sort automatically option on the File > Options > Settings form).
If there are errors such as missing or invalid data, they are shown in red and you will not be able to save the event. Either correct them, or click somewhere outside the table to close it without making any changes.
Dates and times
If you are copying events from other records, it is likely that dates and times are in different formats.
Instead of having to translate them into a consistent format yourself, you can enter them as written and use the Tools > Edit > Format Dates button on the Ribbon to do so for you.
See Formatting dates and times.
Sorting the chronology
If you want to sort the chronology by a particular column, click on the arrows to the right of that column's heading: 
Use the  button above the table to sort the chronology into Chronolator's default Date and Time order.
You can set whether you want the table to be sorted automatically whenever you update it by using the File > Options > Settings button on the Ribbon.
Saving the chronology
Chronolator Enter automatically saves your work in your browser's storage. However, you should also periodically save it to your computer's file system
Use one of the File > Save As buttons on the Ribbon.
Copyright © Berrick Computing Ltd 2026